Showing posts with label Tutorials. Show all posts

Wednesday, November 2, 2022

How you can make a beautiful fall card using the Cottage Wreaths bundle, and get 3 FREE card tutorials!

 Hi Friends!

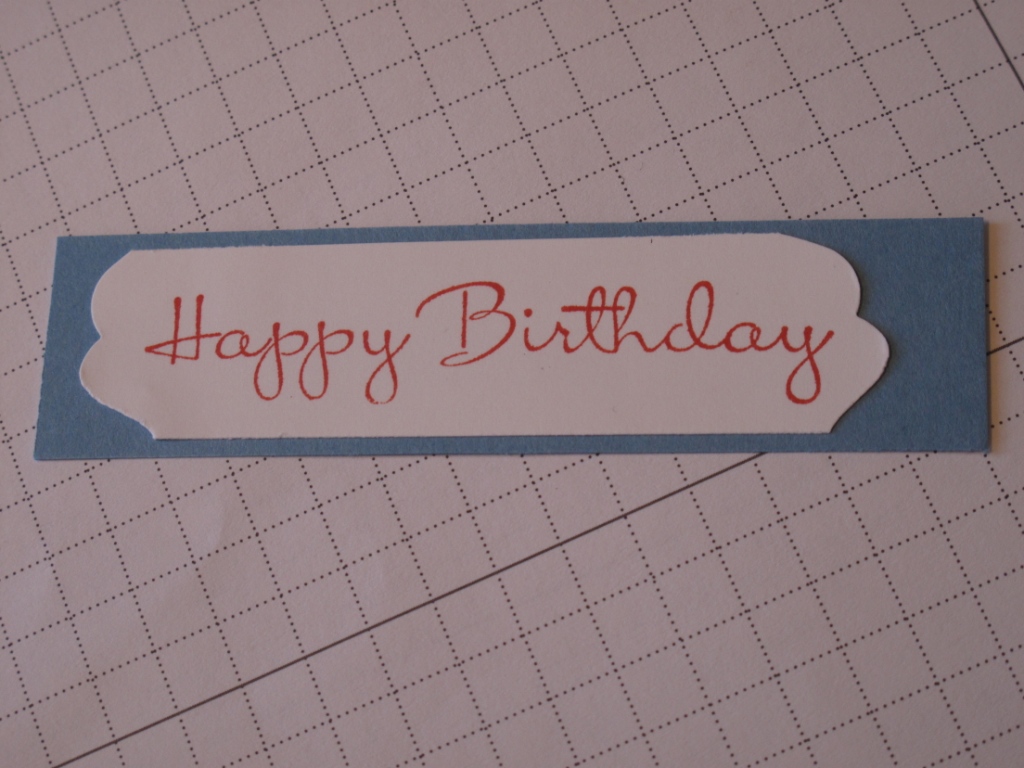
On Monday I shared how to create this beautiful card using the Cottage Wreaths bundle.


I only just got this bundle, and I don't know why I didn't do it sooner!  

It is so pretty, and versatile!  

I continued playing and in no time at all I had 4 gorgeous cards done. I thought, I need to share the tutorials on how to create the cards for free! So I created a PDF with step by step instructions and a complete supply list on how I made them.

And I am sharing it for FREE to anyone who purchases the Cottage Wreath bundle from me before Dec 31st. BUT hang on ....

You can also get it FREE if you:

  • Are a member of my Monthly Stamping Club starting in December
  • Subscribe to my Monthly Tutorial Subscription - this will be an extra tutorial in December
  • Are a member of my Craft Room Stampers Team
  • Place a minimum $75 order before Dec 31st using my Host Code (link in my right sidebar)

So there are lots of ways to get the tutorial PDF. Please note, there are not video tutorials for all of the cards, but you can see how I created the first one in the video below.

If you would like to see how I created the card on Monday, click on the picture below to watch the video tutorial on my YouTube channel.

 If you enjoy the video, please consider subscribing to my YouTube Channel so you don't miss any of my videos, tutorials and Live Stamping. Once you have subscribed, click on the bell icon to get notification when I add to my channel.

I would love to have you as part of my Canadian Team - The Craft Room Stampers.

CLICK HERE to get more information and a link to get the Starter Kit.

Stampin' Smiles!


Monday, August 22, 2022

Tomorrow Is The Elephant Parade Class In A Box Hosted by Yours Truly!

 Hi Friends!

Tomorrow, Tues. August 23rd, I am hosting an Elephant Parade Class In A Box.

This is a virtual class being held on Zoom.

Stampers received a box of goodies that included the Elephant Parade stamp set and a package of Dimensionals so the order would qualify for a FREE Sale-a-Bration item as well.


ELEPHANT PARADE BUNDLE (ENGLISH)

The Video Tutorials will be available for purchase tomorrow, Tues. Aug 23rd.

CLICK HERE to register for the Tutorials to make these super cute cards shown in the graphic above.

I would love to have you as part of my Canadian Team - The Craft Room Stampers.

CLICK HERE to get more information and a link to get the Starter Kit.

Stampin' Smiles!


Thursday, April 21, 2022

TLC Tutorial Sneak Peek

 Hi Friends!

Each month I participate with a group of Canadian Demonstrator Friends to produce a free tutorial bundle for our customers.

We can use them any way we like, as long as we give them for free.

I include one a week in my Weekly Update Newsletter. You get a downloadable written tutorial PDF for each project!

I thought I would share a sneak peek of my latest contribution. It will show up in a future Weekly Update Newsletter. 

Are you subscribed to my newsletters?

If not, you should be!  I will send you two free card tutorials as my thank you right away. Then each Tuesday morning at 8 am (PT) you will get my newsletter in your email inbox with the free weekly tutorial.

Just fill out the form that drops down while you are reading my blog. Or go to the top of my blog on the right side and fill in that form. Both work!

Happy to have you on my list and share all my tutorials,videos, specials, and classes with you.  All of my classes and tutorials are available in Tutorial Only versions so it doesn't matter if you live outside Canada, you can still participate in the classes.  And, with the tutorial, you get an invitation to join in one the virtual zoom class too!  So you don't have to stamp the projects by yourself. You can join us for a fun evening of stamping.

Thanks for visiting today.

Stampin' Smiles!


Thursday, February 7, 2013

Dude, You're Welcome kit information

I have had a number of inquiries on the Dude, You're Welcome kit for Men that Stampin' Up! released in January. 

I came across this awesome video from Dawn Griffith that is just the greatest video.  Her hubby is in the video with her and he opens, explains and uses the kit and it's contents. It is hilarious!  Hope you get a chance to give it a watch.  It is great if you want to see all the kit contents including each of the 4 stamps included.


Tuesday, November 15, 2011

Modern Label Punch Repunched Tutorial

Yesterday I shared this card with you .....
Up on the top right hand corner I have a sentiment punched with the Modern Label punch, but it is much smaller than the original punched shape.  I call it "Repunching".  Today I have a tutorial for you on how to do this with your punch ....
Here are the supplies you will need ... the Modern Label Punch, Ink, Sentiment Stamp, Cardstock
 Stamp your image ....
 Punch it out with the Modern Label Punch ...
Take a scrap of cardstock (I am using the piece I just punched the sentiment out from) and put a bit of adhesive tape on the end.  This will make an "extender" to use ...
 Stick the corner of your sentiment to the adhesive tape ...
 Put it back into the punch from the outside of the punch as shown and punch your image ...
 Turn the piece around and adhere the end you just repunched to the extender ...
 Put it back into the punch and repunch again ...
 There you go, a repunched sentiment that has the same shape as the original one, just shorter ...
 Here is a comparison of the original size, and the repunched size ...
I am all about using the punches for much more than they were originally intended.  I hate having tools in my craft room that have just one purpose.  You can make this any length you want depending on how long your sentiment is.  I chose to layer it onto the Large Oval punch.
Hope you give it a try.  Happy Stampin' .....

Thursday, November 3, 2011

Something New! Kinder Egg Treat Holder Tutorital

I have finally created an original Tutorial and will have it available for sale!  Whoo hooooo!!!!
I am offering, starting today, a tutorial on how to make my Kinder Egg Treat Holder.  The holes will hold Kinder Eggs or other similar diameter treats.  By changing the punch, you can change from circles, to squares to ovals and customize it to your treats.

Here is a picture of the finished project ....

HERE is a link to my blog post on November 1st where I introduced this little gem.
HERE is a link to my "Tutorials For Sale" page where you can order your very own copy of the tutorial. 
Or if you place an order through me for $30 or more in November you will get the tutorial
ABSOLUTELY FREE!!! 
CLICK HERE to order now.
All proceeds from the sale of this, and future tutorials, will go towards our "Grandchildren College Fund".  Thank you for supporting us!

Monday, October 17, 2011

Owl Santa Ghirardelli Christmas Favour - TUTORIAL

As promised, I am back today with a tutorial on how I made THIS cute Christmas goodie holder.
Supplies you will need are:
   Simply Scored Tool
   Silver Glimmer, Real Red, Whisper White and Basic Black cardstock
   Stapler and Staples
   Bone Folder
   Owl Builder and Decorative Label Punches
   Snow Burst Embossing Folder
   Champagne Mist Shimmer Spritz
   Sentiment Stamp - I used Petite Pairs
   Basic Black Classic Ink
   Real Red Stampin' Write Marker

Cut a piece of Real Red cardstock 6-1/4 x 2-1/2"
Score at 5/8, 3-3/8, and 3-3/4' using your Simply Scored Tool (notice the markers I placed so that I can quickly repeat the score lines and not loose my place!)

 Cut a piece of Basic Black and Whisper White cardstock to the sizes below.  Spritz the Whisper White piece with Champagne Mist Shimmer Spritz:
 Using the Owl Builder Punch, Real Red, Basic Black and Silver Shimmer cardstocks, punch out the following owl pieces:
 Put the owl together:
Run the Whisper White piece through the Big Shot using the Snow Burst Embossing Folder:
 Using the bone folder, fold along all the lines of the Real Red base:
 Add the Ghirardelli Chocolate inside the base, fold over the bottom and staple it closed.  Make sure you staple towards the bottom so you have a flap left to slip the top under:
To make the sentiment - Stamp on a piece of Whisper White cardstock. Insert into the Decorative Label punch as shown below: (sorry this picture is a bit blurry)
 Take the piece out, turn it around, insert it into the punch, line up and punch as shown:
 Then edge the sentiment piece using a Real Red Stampin' Write Marker:
 Attach the owl and the sentiment to the front of the chocolate holder using dimensionals:
You are now done!  Now the hard part, do not eat it before you give it away!  Good Luck!!!
Happy Stampin' ...    

Saturday, October 8, 2011

Tutorial - A Different Way To Use The Decorative Label Punch

Yesterday in THIS POST I shared a card for you where I used the Decorative Label Punch to make decorative ends on the sentiment layer.  I am back today with a tutorial on how I did that.
First Supplies:
 Poppy Parade ink, Happies Birthday Wishes Happy Birthday stamp, Decorative Label Punch, Marina Mist cardstock - 7/8 x 3-1/2, Whisper White cardstock - 3/4 x 3-1/4.  Stamp your sentiment on the Whisper White with the Poppy Parade Classic Ink....
 Line up and punch out the left hand side of the cardstock in one of the corners of the Decorative Label punch ....
 Do the same thing to the right hand side, but use the opposit corner of the punch .....
 This is what it will look like when punched on both sides ....
 Adhere the Whisper White cardstock to the Marina Mist cardstock ....
 Line up the sentiment in the Decorative Label punch again using the same corners and leaving about 1/8" of the Marina Mist cardstock showing, then punch out the left hand side ....
 Next do the same thing to the right hand side, making sure you are using the same corner you used for the Whisper White layer .....
And there you go.  Both sides punched with the Decorative Label punch.  You can get different looks depending on where on the Decorative Label punch you line up your cardstock.
Have fun, and I hope you give this a try.
Happy Stampin' ....

Monday, March 7, 2011

Flip Over Calendar Instructions

As promised, I have completed the instructions for THIS Flip Over Calendar.

Flip Over Calendar Instructions


And here are the calendars for you to download and print out. The first one is just one 12 month calendar, the second one is 2 12 month calendars .....
Flip Calendars 2011 - 1 set

Flip Calendars 2011 - 2 sets

Have fun making these, they are awesome and I plan on making a bunch for 2012 for craft fairs around Christmas.
Happy Stampin' ... ... ...            

Monday, October 11, 2010

Stampin' Up! Bat Punch Scallop Edge

On my last card HERE I used the new Stampin' Up! Bat Punch to create the scalloped edge at the bottom of the Early Espresso layer.  Here is a tutorial on how I did that ... ... ...

Cut your cardstock to 1-1/2 inches wide by the lenth required (I used 1-1/2 x 4-1/4) ... ... ...

 Then mark the center of your cardstock ... ... ...


 Line up the center you marked between the feet of the bat like so ... ... ...


Punch out your first image ... ... ...


It should look like this ... ... ...


Then move the punch to the end of the first punched out section and align the curve of one wing with the curve of the one to be punched out ... ... ...


They should line up like this ... ... ...


When punched you will get this ... ... ...


Continue punching in the same manner on both sides of the first punch out ... ... ...


You will end up with an edge like this (this is the back side)  ... ... ...


This is the right side ... ... ...

Ta-Da! You are done, and its ready for your card.  Because the inside of the punch is flat, just make sure you push your cardstock all the way down inside the punch and you will get a nice even and straight edge.  I just used this and cut another piece of cardstock to finish matting my main image and it worked like a charm.  Because the cardstock is so dark, you cannot even see the line where they meet..

Thanks for visiting, hope your weekend was an awesome one.  Ours was great, Happy Thanksgiving to all Canadians... ... ... ... ... ... ... Glenda Mollet 

LinkWithin

Related Posts with Thumbnails