Showing posts with label 3D Items. Show all posts

Monday, March 24, 2025

Create a Fun Snackle Box with the Gone Fishing Dies and Ocean Friends Bundle

 Hi Friends!

If you're looking for a fun, 3D project to add to your crafting collection, look no further! 

During my latest Facebook Live on Wednesday, I demonstrated how to make a super cute and practical Snackle Box, and it was a blast! This project combines creativity with a touch of practicality, and I can't wait for you to give it a try.


For my live demo, I used the Gone Fishing Dies, Ocean Friends Bundle, and Friends of the Ocean Designer Paper to create a bright and cheerful design. The Snackle Box is perfect for gifting treats, small surprises, or even as a fun storage option for your desk or craft space. You’ll be amazed at how simple it is to put together, and the results are seriously adorable.

In the picture, you can see the original Snackle Box I made using the Birthday Celebrations Suite, but during the live demonstration, I switched things up with the Ocean-themed products to create a vibrant, summery look. Trust me, you won’t want to miss this one!


I know you'll love making this fun project, and to make it even easier, I’ve put together a detailed step-by-step video tutorial on my YouTube channel. Click below to watch the full demonstration, where I walk you through the entire process of creating the Snackle Box with the Ocean Friends and Gone Fishing products. Be sure to subscribe to my YouTube channel so you never miss an exciting new tutorial!


Thank you so much for watching the video! If you enjoyed it, I’d be thrilled if you subscribed to my YouTube channel. It’s the best way to stay updated on all my latest videos, tutorials, and live stamping sessions. And don’t forget to hit that bell icon so you’ll get a little nudge whenever I share something new. I can’t wait to craft more with you! 


Want 2 FREE card tutorials from me—and a brand-new one every single week? 🎉 It’s super easy to sign up! Just fill out the form that pops down while you’re reading this blog, look for it at the top right corner, or simply CLICK HERE to join the fun. Let’s keep crafting together!

Once you confirm you’d like to receive my emails, you’ll be all set to get the latest and greatest right in your inbox!  You’ll have the option to subscribe to my Newsletters, where I’ll share tutorials, tips, and other awesome content. Every Tuesday morning at 8 AM Pacific Time, the Newsletter will slide right into your inbox—no extra steps needed. You’ll always be in the know and ready to craft along!

Do you live in Canada and don't already have a Stampin' Up! Demonstrator? I'd love to help you find all the value and community that I've found. Let's work together to get started!

CLICK HERE to get more information and a link to join our Craft Room Stampers Community. Get $165 in Stampin' Up! products of your choice for only $135!  With FREE Shipping and some taxes, this is an amazing way to grab a lot of new products for a small amount.

And, Demonstrators get to pre-order from every catalogue and online release ..... AND YOU CAN GET THEM IN YOUR KIT!!!

EMAIL ME for more information, or for help getting your kit on it's way to you.

Stampin' Smiles!

Glenda 


(click on the image below to see all the up to date links)


Friday, October 27, 2023

12 Weeks of Christmas Projects - Week #6. Introducing a great treat holder complete with video tutorial just for you.

Hi Friends!

Do you use Treat Holders in your gift giving?

I certainly do. I love to spoil my Monthly Stamping Club and Craft Room Stampers Team with gifties every once in a while.

This one by Kim Meyers, is perfect to add some chocolate too, or let you imagination go and fill it with something curated for the recipient! 

I shared how to create this wonderful treat holder during my YouTube Live demonstration on Tuesday night (8 pm Pacific Time). Then we went on and I showed how to custom create other treat holders the same way for different sized treats. It's SO EASY!

Watch the video to see what I put inside it when it was done, and what bundle I used to complete the box.

CLICK HERE to download the PDF tutorial.

If you would like to see how I created it, click on the picture below to watch the video tutorial on my YouTube channel. If you enjoy the video, please consider subscribing to my YouTube Channel so you don't miss any of my videos, tutorials and Live Stamping. Once you have subscribed, click on the bell icon to get notification when I add to my channel.


Would you like 2 FREE Card Tutorials from me?  Just fill out the form that pops down from the top while you are reading my blog, or at the top on the right hand side, or CLICK HERE

You will receive an opportunity to subscribe to the Newsletters, and other ways to get more information, tutorials and other great value once you confirm that you want to opt into receiving my emails, then you are all set for next Tuesday morning at 8 am Pacific Time. The Newsletter will slide right into your email inbox, you don't have to do anything, and you will be in the know

Do you live in Canada and don't already have a Stampin' Up! Demonstrator? I'd love to help you find all the value and community that I've found. Let's work together to get started!

CLICK HERE to get more information and a link to join our Craft Room Stampers Community.

Stampin' Smiles!


Monday, August 28, 2023

Some Beautiful Roomie Treat Box Gifts - Yes, Chocolate Was Involved!

 Hi Friends!

Last week I travelled to Las Vegas for a Stampin' Up! in person event.

There were over 750 Demonstrators from around the world, and it was truly amazing!

We usually try to pack as many of us into one hotel room as we can. First for the price savings, but also for the sheer fun of being in a room together and the shenanigans too.

These pretty boxes were made for my Roomies and a couple of special Demos who travelled with us, but had their own room. You can only fit so many bodies into one room lol.


I combined the now retired acrylic boxes, some Fresh As A Daisy designer paper, and the Cheerful Daisies bundle to create a box to hold some chocolate from my favourite chocolate store. Chocolate Tofino is located in Tofino, which we consider our second home. 

They have Hot Chocolate Elixir on tap all the time,  and they make big Orbs with the Elixir.  I picked up a few the last time we were there, and they came in handy for sure!

I made sure to include the instructions on how to enjoy them on the back of the package.

This is a picture of the sleeve they come in, in packages of 3 orbs.  The scrunchy stuffing came from the dollar store and matched perfectly.

My Friends loved them! Now I have to go back to Tofino again to get more. 

You never know when you will need something like this.  A perfect gift for a chocolate lover.

Please subscribe to my Weekly Update Newsletters so you don't miss any of my videos, classes and FREE Tutorials that I send out each week.

Just fill out the form that pops down from the top while you are reading my blog, or at the top on the right hand side, or CLICK HERE

You will receive an opportunity to subscribe to the Newsletters, and other ways to get more information, tutorials and other great value once you confirm that you want to opt into receiving my emails, then you are all set for next Tuesday morning at 8 am Pacific Time. The Newsletter will slide right into your email inbox, you don't have to do anything, and you will be in the know

Do you live in Canada and don't already have a Stampin' Up! Demonstrator? I'd love to help you find all the value and community that I've found. Let's work together to get started!

CLICK HERE to get more information and a link to join our Craft Room Stampers Community.

Stampin' Smiles!


Monday, December 5, 2022

How To Get A FREE Tutorial To Make A Christmas Treat Holder!

Hi Friends!

The box I have to share with you today was inspired by one I saw by Dawn Robles on youtube.


I made a few as gifts, and last Thursday I shared how to create it in my facebook VIP Group.

The original box was designed to hold Hershey Nuggets, but they are very difficult to find in Canada, and very expensive too.  I was so lucky to have my friend Nicole Flournoy bring me some up from the USA when I went to the Stampin' Up! event in Vancouver BC.

But, I needed one before that, so I redesigned it to hold the lindt chocolate squares that we can get in Costco.

You can get all the measurements for both sizes in my facebook VIP Group, plus the video tutorial too.

Just POP OVER to facebook and join my group today. You can find the video on the December 1st post.  Membership is FREE and so much FUN!  There is always inspiration happening, and a weekly draw too!

See you there!

Make sure you subscribe to my Weekly Update Newsletters so you don't miss any of my videos, classes and FREE Tutorials that I send out each week.

Just fill out the form that pops down from the top while you are reading my blog, or at the top on the right hand side, or CLICK HERE

You will receive a confirmation email that you want to opt into receiving my emails, then you are all set for next Tuesday morning at 8 am Pacific Time. The Newsletter will slide right into your email inbox, you don't have to do anything, and you will be in the know!

Do you live in Canada and don't already have a Stampin' Up! Demonstrator? I'd love to help you find all the value and community that I've found. Let's work together to get started!

CLICK HERE to get more information and a link to join our Craft Room Stampers Community.

Stampin' Smiles!


Product List

Monday, November 21, 2022

Christmas Gift Giving Hershey Nuggets Treat Holder - Pictures and How To Get The Video Tutorial!

Hi Friends!

Welcome to the November Trip Achievers Blog Hop for Stampin' Up! Demonstrators who earned the Norwegian Fjord Cruise!   The blog hop links are just above my signature below.

Today I have a super cute box for you! And I discovered you can stamp right onto the White Glimmer Paper! How cool is that????

I saw this online in a video tutorial by Frenchie Martin. It's a "Magic Box" or an "Impossible Box", and so much fun to make!

When I was younger my Mom and Dad spent time in Yuma, Arizona during the winter (we are from BC Canada) and my Dad used to do a lot of crafty stuff while he was there.

He came home with those blocks of wood with the ribbon on them that just kept running on and on and on. They were so fun and I just couldn't get my head around how they worked.

Well this box is kind of like that. It opens one way, then opens the other way too.

Here's the first way .....

And this is the second way ....

It will fit 8 Hershey Nuggets (4 in each side). Frenchie used nuggets in one side, and rolled up dollar bills in the other side. They fit perfectly!

There is a video tutorial in my facebook VIP Group CLICK HERE to join the group and enjoy the tutorial including all the measurements.

Make sure you subscribe to my Weekly Update Newsletters so you don't miss any of my videos, classes and FREE Tutorials that I send out each week.

Just fill out the form that pops down from the top while you are reading my blog, or at the top on the right hand side, or CLICK HERE

You will receive a confirmation email that you want to opt into receiving my emails, then you are all set for next Tuesday morning at 8 am Pacific Time. The Newsletter will slide right into your email inbox, you don't have to do anything, and you will be in the know!

Do you live in Canada and don't already have a Stampin' Up! Demonstrator? I'd love to help you find all the value and community that I've found. Let's work together to get started!

CLICK HERE to get more information and a link to join our Craft Room Stampers Community. 

Enjoy the rest of the Hop!


Stampin' Smiles!


Thursday, August 11, 2022

Are you looking for a quick and easy Treat Box for an upcoming event?

 Hi Friends!

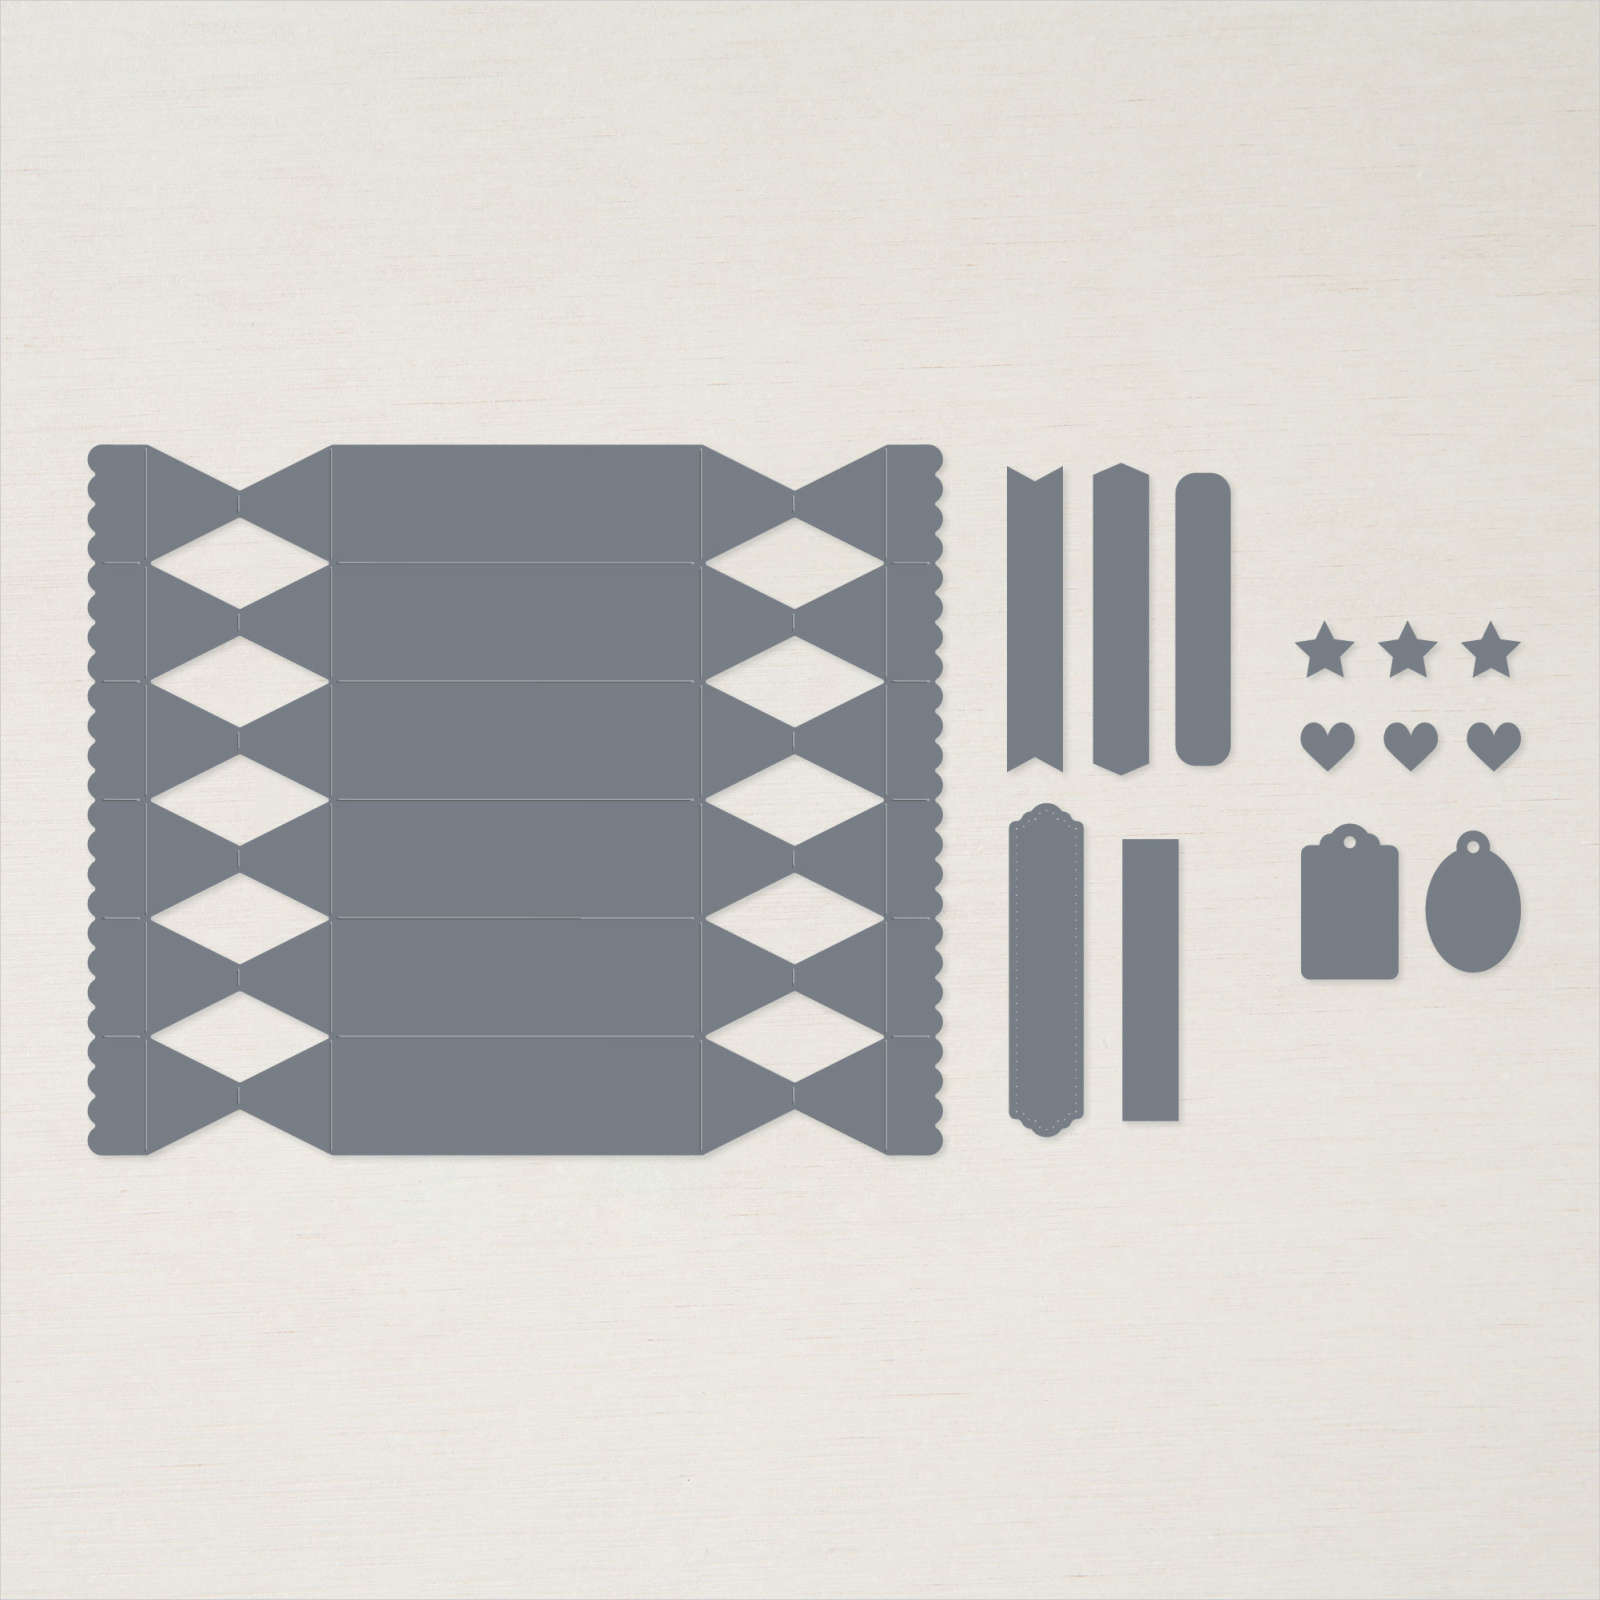
One of the Stand Alone die sets in the Stampin' Up! Annual Catalogue is the Cracker & Treat Box dies.

It does not have a coordinating stamp set that it is bundled with, and it could often be overlooked.

CRACKER & TREAT BOX DIES

The die set comes with lots of sentiment dies that can be used with many stamps.

You can find the die set on page 170 of the Annual Catalogue, or view them HERE on my online store.

I shared how to create one of these cute treat boxes during my facebook live on Monday.


This die is so versatile, and would make treat boxes for any occasion.

I filled mine with mini Aero chocolate bars, but you could also fit lip balm, lottery tickets, jewelry, etc.  The possibilities are limitless.


I pulled out some other designer papers (you need a piece 5 x 6) and created 2 more versions.

If you would like to see how I created it, please click on the picture below to watch the video on my YouTube Channel. 


If you enjoy the video, please consider subscribing to my YouTube Channel so you don't miss any of my videos, tutorials and Live Stamping. Once you have subscribed, click on the bell icon to get notification when I add to my channel.

I would love to have you as part of my Canadian Team - The Craft Room Stampers.

CLICK HERE to get more information and a link to get the Starter Kit.

Stampin' Smiles!


Wednesday, May 7, 2014

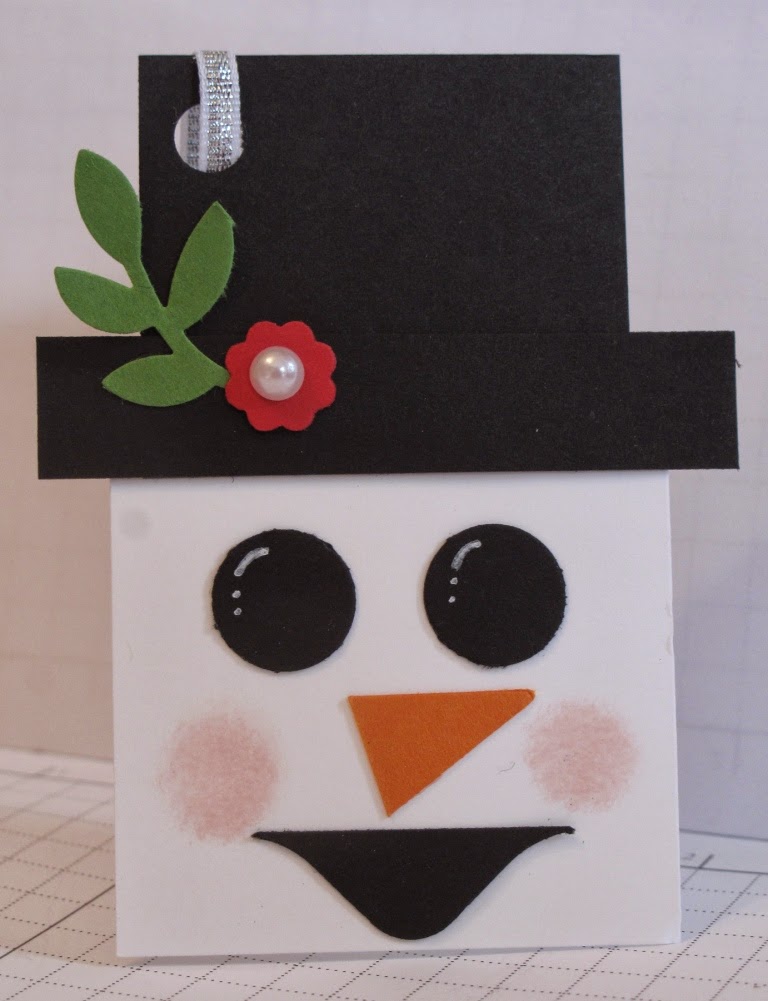
One Day Mini Retreat - Project 9 - Snowman Gift Tag

The final project was another Christmas one ....


I found this cute Snowman Gift Tag created by Maggie Patterson / Ronda Wadeon their My Stamping Best Friend site, but I don't remember where I saw it. Hey, I am just glad I remembered to write down who created it!!!  LOL  It was a free tutorial though, that I know.

  Stamps:  none
  Ink:  Blushing Bride
  Paper:  Whisper White, Basic Black, Gumball Green, Real Red, Pumpkin Pie
  Other:  Bird Punch, Itty Bitty Flower Punch, Basic Pearls, 1/2" Circle Punch, Star Punch (R) or you can hand cut the nose, Envelope Punch Board (for the mouth, this was my addition), Dauber, White Chalk Marker, Silver Ribbon, 1/4" Hole Punch

I am sure you can figure out how to create this tag just from the picture.  The remains of black cardstock after it has been punched with the Envelope Punch Board makes a really cute mouth.

This is the last of the projects from my One Day Mini Retreat.  The next post will be pictures of the Goodie Bags, Door Prizes and Pillow Gifts I handed out to each attendee.

Happy Stampin' . . . . .   

Friday, April 18, 2014

One Day Mini Retreat - Project 1 - Card Box

I few days ago I had a One Day Mini Retreat stamping class, this is the card box we made to hold our projects ....


Back in January I participated in an online Creative Convention by Maggie Patterson and Ronda Wade. We had so much fun!  This is the box from that class - with a bit of customization by me!  I will be sharing all the projects and the other goodies over the next few posts.  Hope you can come back and see them all!

  Stamps:  You're Lovely (SAB-R)
  Ink:  Early Espresso, Calypso Coral
  Markers:  Calypso Coral, Pistachio Pudding
  Paper:  Pool Party, Whisper White, Sweet Sorbet DSP (SAB-R)
  Other:  Simply Scored Tool, Deco Framelits, Basic Pearls, Paper Doily, 2-1/2" Circle Punch, Large Oval Punch (R), 1/8" handheld punch, Pool Party Seam Binding

I stamped the flowers on whisper white cardstock, then stamped them again on another piece, cut them out and popped them up on the top of the original stamped image.

Have a great day, and Happy Stampin' ..... 

Tuesday, April 15, 2014

Easter Chick - Gift Bow Die

Hello, a bonus post for you today - a cute Easter Chick!!!

I saw this on Kirsteen Gill's blog last month, and it looked like a lot of fun to create.  So I purchased the tutorial and sat down to make it happen.  Isn't he adorable?  Here are more pictures . . . . .

As I had to purchase the tutorial, I can't comment on how to make it.  But I can give you some supplies I used:

  Gift Bow Die
  Circles Dies
  1/8" Cello Bags
  Googlie Eyes (non Stampin' Up!)

That's it, the only supplies required.  You could sponge each piece if you wanted.  It would look pretty cool, but I did not want to cuz I was too in a hurry to get it created.  So much fun, thanks Kirsteen, for sharing!

Happy Easter to you!   

Monday, April 14, 2014

Embossing Folder Holder meets Modern Medley Designer Paper

I took a class at the Stampin' Up! Convention last July, this is what we made ....


I changed the embellishments and designer paper a bit, but the basic design is the same. It is the original creation of Adela Rossol HERE is her blog ....

I did a class on this back in February, and a couple of days ago I held a Re-Do class for stampers who were not able to come the first time around.  The three "pockets" in the back of the picture fit inside the frame and when all assembled you can hold up to 30 Embossing Folders in this awesome projects.  It is made even more special by using the Modern Medley DSP, a bit of Silver Glimmer paper, and some Coastal Cabana Ruffled Stretch Ribbon ...

  Stamps:  None
  Ink:  None
  Paper:  Basic Black (12x12), Silver Glimmer, Modern Medley DSP
  Other:  Template from Adela, Red Liner Sticky Tape

Only a few supplies, but the copying and prep work for this product is a bit time consuming.  I am sure Adela still has the template for sale on her blog somewhere.

Happy Stampin' and Creatin' ...... 

Friday, February 21, 2014

Burlap and Blooms Wreath Simply Created Kit

Stampin' Up! has some great kits.  This is one of them .....


This spring wreath kit comes complete, all you need to add is a glue gun to assemble it.  The flowers are all pre-cut for you and it even includes the wreath frame.  The fringy ones even have the adhesive already on them!  All of the embellishments also come with it.  It was quite easy and quick to assemble this kit and have it hanging in my studio in no time.

If you go to page 21 in the Occasions Catalogue (also called Celebrate The Everyday) you will see this kit in the bottom left hand corner.  There is a QR symbol that you can scan with any wireless device.  This takes you right to a video on how to assemble this kit.  Here is the video ...


Have a stampin' great day!   

LinkWithin

Related Posts with Thumbnails