
I was looking for inspiration to create a masculine birthday card and ran across this one by Joyce Whitman on one of our facebook sites. I just love it and so I cased it from her. I added a couple of things to make it my own, but the basic card is all hers.

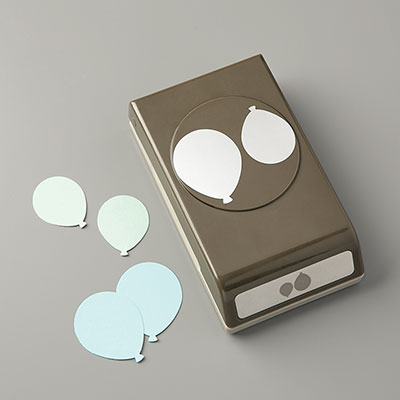
I added a piece of Fabulous Foil Acetate punched with the balloon punch and attached over top of the Tranquil Tide small balloon. Then I coloured some White Perfect Accents with the Dark Night Of Navy Stampin' Blends. This is such a fun way to add a punch of colour, and it is so easy to do. Just use a Stampin' Blends (they are alcohol based so won't rub off the white accent or any other embellishment) and go over top of the white perfect accent to turn it a beautiful shade of blue. It also has some variation in the colouring and gives it a bit of depth.
Night of Navy 8-1/2 x 5-1/2
Tranquil Tide 5-1/4 x 4; 2 x 3; 1-1/2 x 2-1/2
Crumb Cake 5 - 3-3/4
Very Vanilla 2 x 3
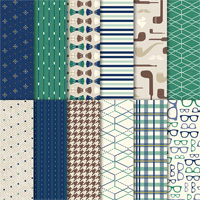
True Gentleman Designer Series Paper
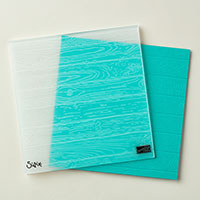
I ran the Crumb Cake layer through the Big Shot with the Pinewood Planks Dynamic Embossing Folder before I adhered it to the Tranquil Tide layer, then on the Night of Navy card base.
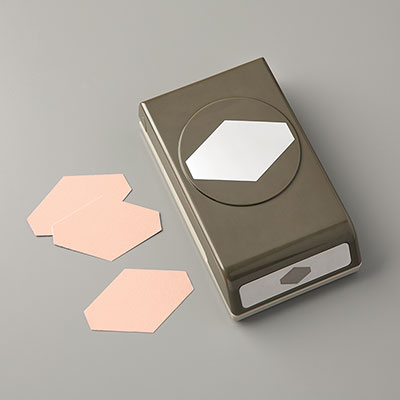
I punched out the balloons using the Balloon Bouquet punch - I used both sizes of balloons
Cut 5 pieces of Linen Thread 2" and adhere them to the crumb cake piece for the balloon strings
The balloons were adhered by using glue on the bottom of each balloon (except the front one) and a dimensional at the top of each balloon. The front one is up on dimensionals on the top and the bottom. I applied tiny dots of Tombo Glue to the dots on the acetate and attached it to the front balloon.
The Tranquil Tide piece behind the sentiment is punched with the Tailored Tag Punch, then cut in two horizontally and layered behind the sentiment which is also punched with the same punch. These layers are also up on dimensionals.
The finishing touch was the application of 3 White Perfect Accents that had been coloured
The new True Gentleman designer series paper is so perfect for making masculine cards, don't you agree? A complete list of all the supplies I used for this card can be found under my signature. Just click on any image to go to my Online Store and place your order. Please use the Current Host Code located on the right side near the top of my blog. If you do, I will send you some FREE card tutorials at the end of the month as my Thank You!
Also, during the month of February I am offering 20% off ALL CARDSTOCK in either catalogue. Simply place your Canadian order (making sure you don't use "no contact" so I know who you are) and I will refund you the 20%.
Have a Crafty Day!


No comments:
Post a Comment