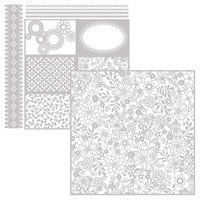
Another card I created with the beautiful Delightfully Detailed Laser-Cut Specialty paper has a pretty watercoloured background on it.
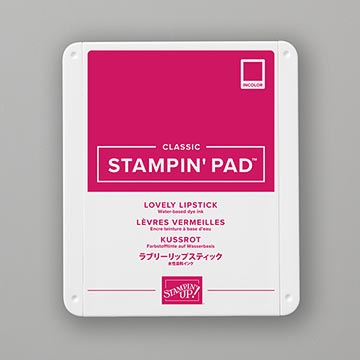
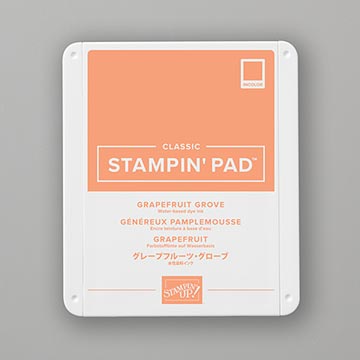
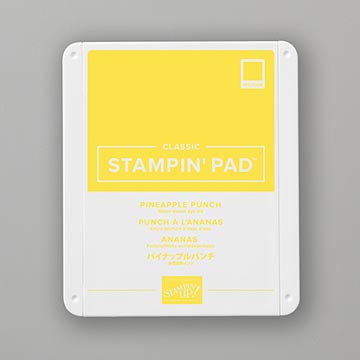
I used some Watercolour paper and made a wash with 3 colours of ink - Lovely Lipstick, Grapefruit Grove and Pineapple Punch. I just love how these colours go together to create the background ....
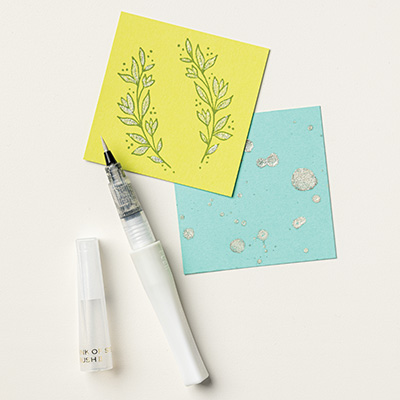
I used the Wink Of Stella Clear Glimmer Pen on the background to give it a bit of a shine as well. You can see it here in the next picture. ..
The sentiment is from Dandelion Wishes and I stamped it in Lovely Lipstick. It is so great using Stampin' Up! products because I know that the ribbons, inks, papers and embellishments are going to co-ordinate perfectly. No guessing and searching for co-ordinating colours.
To do the background, use an Aqua Pen to lay down a layer of water on the watercolour paper. Then pick up some ink with the pen and dot and spread it around as you like on the wet paper. I start with the lightest colour, and fill in the medium colour, then finish off with the darker colour. Then once that had dried (I used my Heat Gun to hurry that process along a bit), I used the Wink Of Stella pen and put a layer of it all over the background.
Then once the background is done and dried, you just have to adhere the laser-cut paper over the top of it. I used a sponge and dabbed some tombo glue on the back of the paper. Because the paper is so intricate, its hard to get adhesive on it. But the sponge and tombo duo trick works wonders.
The paper is white on one side, and vanilla on the other so you can choose which colour palette you prefer. A list of supplies is below my signature. Just click on any of the images to go to my Online Canadian Store for more information or to place an order. If you choose to place an order, I would be honoured to be your Stampin' Up! Demonstrator if you don't already have one. Please EMAIL ME if you have any questions, comments or concerns. I would love to hear from you.
Stampin' Blessings







That is really pretty! Love how it came out. Thank you for sharing your fun projects.
ReplyDeleteDonna