Showing posts with label designer paper. Show all posts

Friday, January 23, 2026

Petals of Beauty Card Using Brushed With Beauty Designer Paper

Hi Friends

I recently went live on Facebook and YouTube to share this Petals of Beauty card, created using the Petals of Beauty bundle, the Words of Beauty bundle, and the Brushed With Beauty Designer Paper. This project is a great reminder of how powerful designer paper can be when you let it take center stage.


The soft florals, gentle colors, and layered details make this card feel elegant without being complicated. During the live demonstration, I shared tips for working with designer paper, layering elements for balance, and letting your patterned paper do most of the work.

The video tutorial below goes over all the supplies and measurements needed to create this card, so you can follow along step by step and easily recreate it in your own craft space.

If you missed the live demonstration, you can watch the replay below and see the card come together step by step. I hope it inspires you to pull out some favorite designer paper and give it the spotlight.

Thank you so much for watching today’s tutorial. If you enjoyed the project, I’d love to have you subscribe to my YouTube channel. It’s the easiest way to stay connected with all my new cardmaking tutorials, stamping tips, and live demonstrations. Be sure to click the notification bell so you’ll know as soon as a new video is posted.

Would you like two free card tutorials from me, plus a brand-new one every single week?
It’s easy to join. A sign-up form will appear as you browse, you can find it in the top right corner, or you can simply CLICK HERE to get started. I’d love to share more creativity with you.

Once your email is confirmed, you’ll begin receiving my Wednesday morning newsletter at 8 AM Pacific Time. Each issue is filled with tutorials, tips, ideas, and fresh inspiration. On Saturdays at 8 AM, you’ll also receive updates on new products, promotions, releases, and time-sensitive Stampin’ Up! news, all delivered straight to your inbox.

If you live in Canada and don’t already have a Stampin’ Up! Demonstrator, I would love to welcome you. Whether you’re looking for creative guidance, a discount on your supplies, or a community of stampers to share your passion with, I’m here to support you.

You can CLICK HERE to learn more and access the link to join my Craft Room Stampers Community. Your Starter Kit includes $165 in Stampin’ Up! products for only $135, with free shipping and minimal tax. It’s a wonderful way to build your collection while becoming part of a warm, welcoming creative group.

And yes—demonstrators enjoy early access to every catalogue and online release, and you can even choose brand-new products in your Starter Kit.

If you have any questions or would like help choosing your Starter Kit, EMAIL ME anytime. I’d love to help you get started on your stamping journey.

Stampin’ Smiles,
Glenda

(Click the image below to access all current links and info.)

Friday, April 4, 2025

Add Texture and Wow with This Designer Paper Technique Using Textured Notes

 Hi Friends!

If you’re looking for a way to take your designer paper to the next level, this technique is a game-changer. In my latest live demonstration, I used the Textured Notes bundle along with a fun designer paper technique that adds incredible texture and dimension to any card.


Designer paper is already beautiful on its own, but using up leftover strips of DSP in a creative way can turn it into something truly special. This card is all about making the most of your supplies and adding that extra wow factor with minimal effort. Whether you prefer soft and elegant or bold and eye-catching, this technique works with any style.

In the video tutorial below, I walk you through how to use this designer paper technique with the Textured Notes bundle to create a card that stands out. You’ll see how easy it is to add texture, and depth—all while keeping the process simple and fun.

If you’ve been looking for fresh ways to use your designer paper stash, this is one you’ll want to try. Watch the tutorial, grab your supplies, and get ready to add a whole new level of texture to your cards!


Thank you so much for watching the video! If you enjoyed it, I’d be thrilled if you subscribed to my YouTube channel. It’s the best way to stay updated on all my latest videos, tutorials, and live stamping sessions. And don’t forget to hit that bell icon so you’ll get a little nudge whenever I share something new. I can’t wait to craft more with you! 


Want 2 FREE card tutorials from me—and a brand-new one every single week? 🎉 It’s super easy to sign up! Just fill out the form that pops down while you’re reading this blog, look for it at the top right corner, or simply CLICK HERE to join the fun. Let’s keep crafting together!

Once you confirm you’d like to receive my emails, you’ll be all set to get the latest and greatest right in your inbox!  You’ll have the option to subscribe to my Newsletters, where I’ll share tutorials, tips, and other awesome content. Every Tuesday morning at 8 AM Pacific Time, the Newsletter will slide right into your inbox—no extra steps needed. You’ll always be in the know and ready to craft along!

Do you live in Canada and don't already have a Stampin' Up! Demonstrator? I'd love to help you find all the value and community that I've found. Let's work together to get started!

CLICK HERE to get more information and a link to join our Craft Room Stampers Community. Get $165 in Stampin' Up! products of your choice for only $135!  With FREE Shipping and some taxes, this is an amazing way to grab a lot of new products for a small amount.

And, Demonstrators get to pre-order from every catalogue and online release ..... AND YOU CAN GET THEM IN YOUR KIT!!!

EMAIL ME for more information, or for help getting your kit on it's way to you.

Stampin' Smiles!

Glenda 


(click on the image below to see all the up to date links)

Monday, November 7, 2022

Would you like to learn how to use designer paper to create a card and see both sides of the paper!

 Hi Friends!

Welcome to the November International Blog Highlights. We are a world wide group of demonstrators who share projects each month and our viewers vote on their favourites.

The top 10 get to do a blog hop at the end of the month. I would love it if you would vote for my card.

CLICK HERE or on the button below, you can vote for up to 5 of your favourite cards.

One of my Team Members shared how to create this fun fold card during our Team Stamping and Recognition Night in October.

We did it as  "mystery stamping" and we had to create the card from the words she told us, we could not see what she was doing.

Before the get together, she posted a list of supplies and measurements, we all prepped our kits and stamped along with her.

This is the card I created ....

I was live in my VIP Group last Thursday for Thursday Thoughts and shared how to create it, but I used completely different designer paper and colours. Oh. My. Goodness! It turned out so pretty.

Please vote for my card CLICK HERE to vote now!

If you would like to see how I created it, and what the alternative card looks like, pop to my FACEBOOK VIP GROUP and join in on the fun, or watch the video below.

You can find a list of supplies I used for this card below my signature at the bottom of this post.

 I don't always share videos from my Thursday Thoughts Live Stamping here on my blog, to make sure you subscribe to my YOUTUBE CHANNEL so you don't miss any of the videos and tutorials I post each week. 

Once you have subscribed, click on the bell icon to get notification when I add to my channel.

Do you live in Canada and don't already have a Stampin' Up! Demonstrator?  I am happy to be your Demonstrator, and I would love to have you as part of my Canadian Team - The Craft Room Stampers.

CLICK HERE to get more information and a link to get the Starter Kit.

Stampin' Smiles!


Product List

Wednesday, February 16, 2022

A Verstatile Layout Using the Friendly Hello Bundle

 Hi Friends!

Today I have a card for you that uses a very versatile layout.

You can use any colour, designer paper, die cut and stamp set/bundle for this one. And it even has some embossing on it!

Watch the video below to see how I changed it up with different colours, different designer paper and different stamped images!  But it's still just as beautiful as the original card.

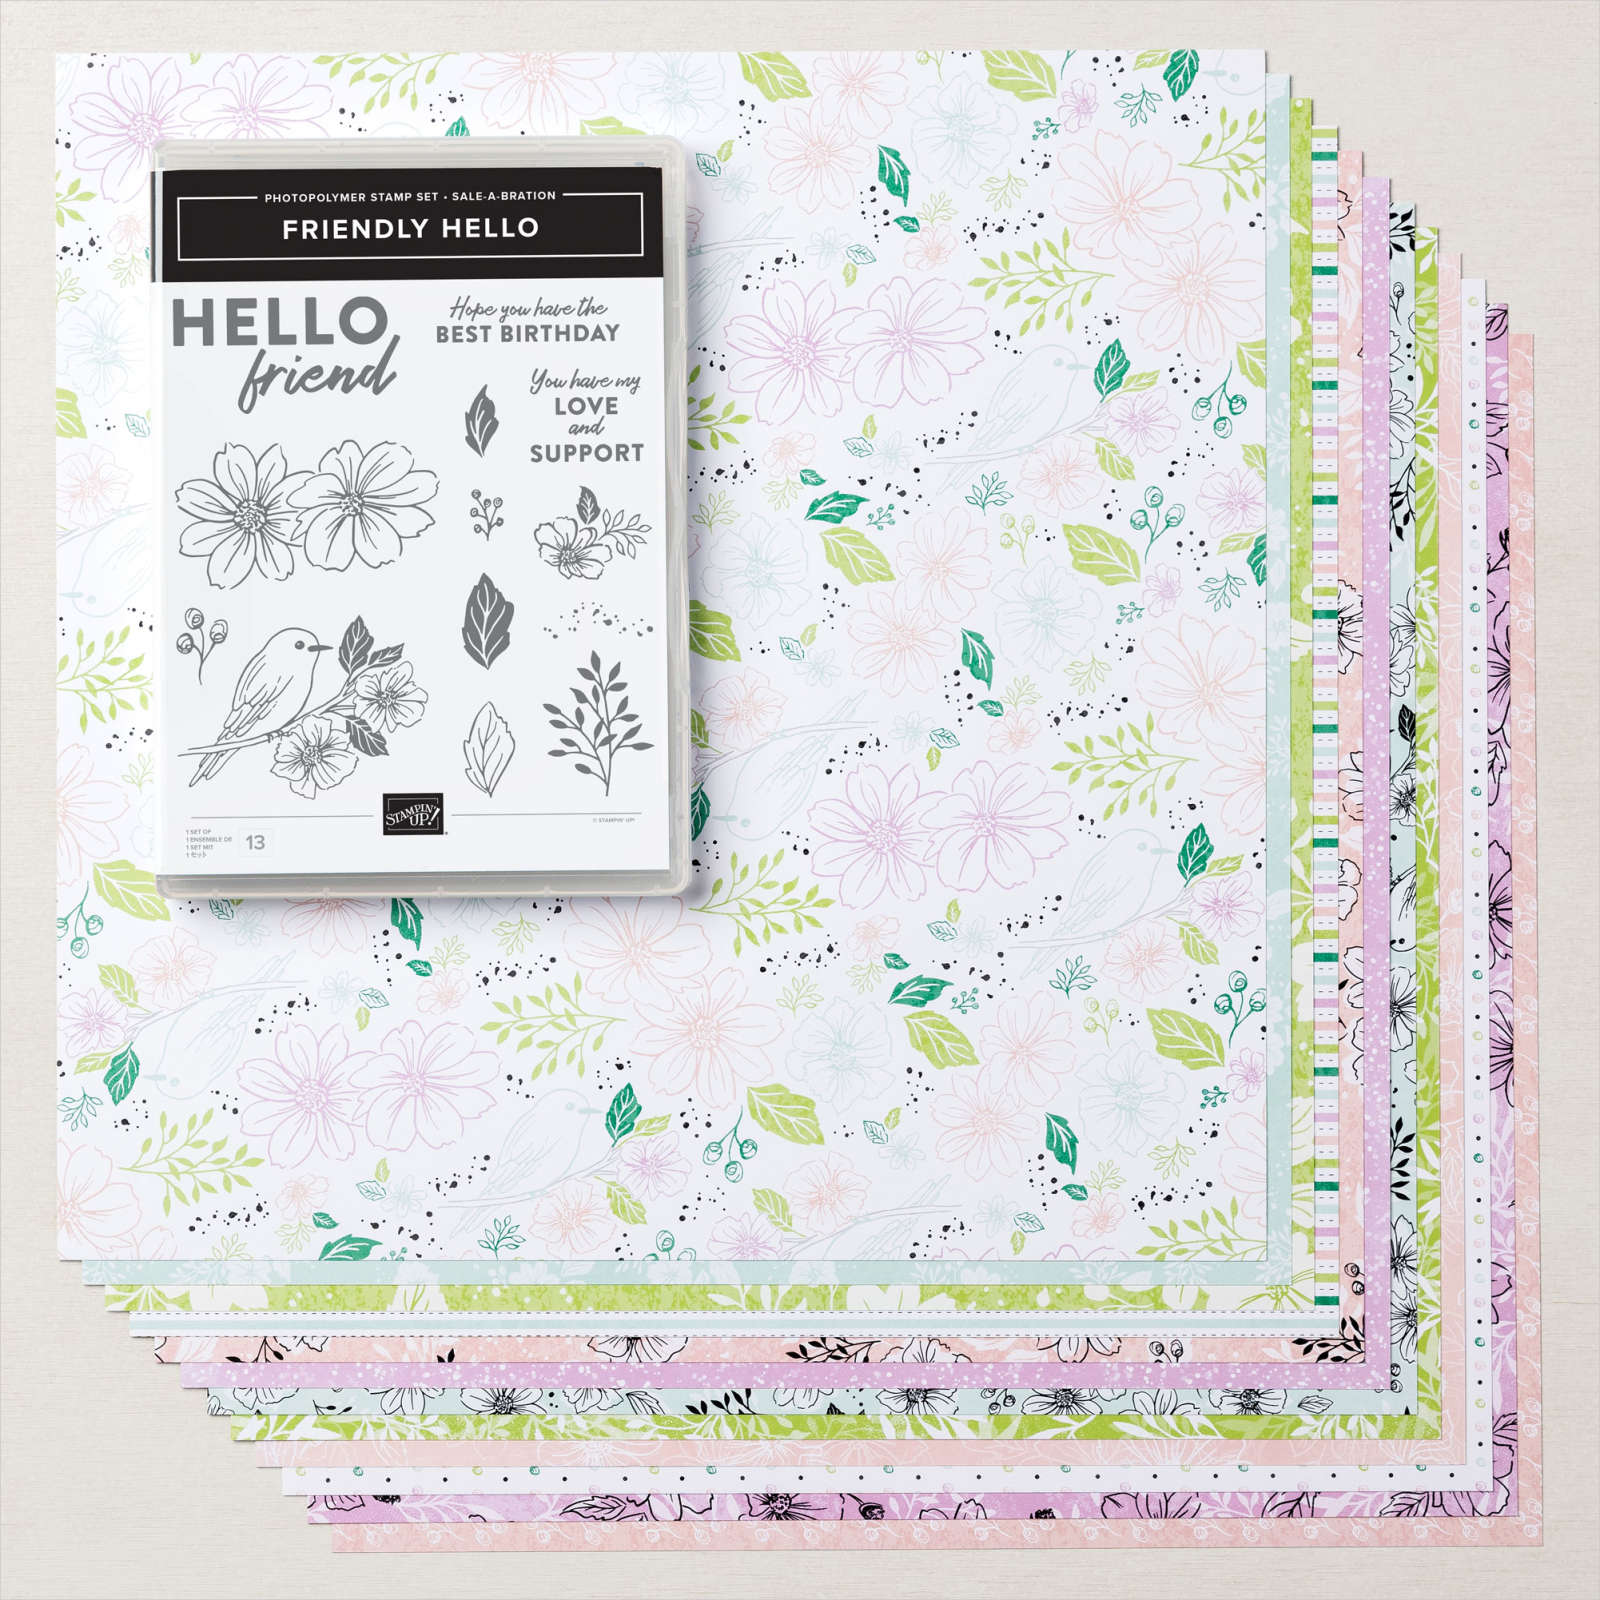
The card I made uses the Friendly Hello stamp set which is available for another 2 weeks as a level 2 Sale-a-Bration item in Jan-Feb 2022.

The designer paper and the stamp set is what makes up the bundle in this case. We don't often have paper and stamps bundled together, but this is simply beautiful!  It should be on your Must Have list for sure.

FRIENDLY HELLO BUNDLE (ENGLISH)

I had fun sharing how to create this card on Monday during my facebook live in my VIP Group.

I showed how you can use any piece of designer paper and even changed up the stamped images!


Card base 8-1/2 x 5-1/2

Basic White 5-1/4 x 4 (inside)

    5-1/8 x 3-7/8 (emboss)

    3-1/2 x 4 (die cut)

    2 x 5/8 (sentiment)

Friendly Hello DSP 2 x 3-7/8

Champagne Rhinestones

Hippo & Friends dies

Tasteful Textile Embossing Folder

Friendly Hello stamp set

Special Moments stamp set

Ink: Memento, Pool Party or Pale Papaya

Blends: Petal Pink light, Pale Papaya dark, Pool Party combo

Wink of Stella

You can see how I created it by watching the video below. If you enjoy the video, please consider subscribing to my YouTube Channel so you don't miss any of my videos, tutorials and Live Stamping. Once you have subscribed, click on the bell icon to get notification when I add to my channel.


Stampin' Smiles!


LinkWithin

Related Posts with Thumbnails