
Whew, what a busy weekend! On Friday night and Saturday I held my Annual Retired Stampin' Up! Garage Sale. I advertise it as a Craft Supply Garage Sale, and you would be amazed at the number of people who walked in the driveway, looked around, and commented "oh, no fishing gear?" or "no tools?". LOL I guess one person's craft supply idea is not another person's.
We had a great time and I was so happy to see the rain held off until it was almost over. Lots and lots of wonderful treasures left my stash and were adopted by other avid crafters of all ages. I got to meet some new people, and visit briefly with others.
Then a quick lunch and off to the Father's Day Coffee and Cards at our local Full Of Beans Play Cafe. It was geared for children to make Father's Day cards, but ended up being the Moms who crafted and the children played. Except for our local Grandsons who each wanted to make a card for Dad! I shared the cards in THIS POST. There was some mixing and matching going on, and I loved seeing the creativity come out and the creations complete and ready for Father's Day.
Last night I had a great group of Ladies over for a pot luck dinner and crafty night. Here is the card we created ....

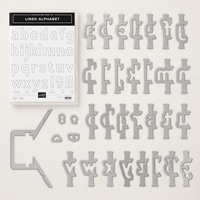
I wanted to show them how easy it is to use the Layering Alphabet dies. The most difficult part of this card is getting the letters lined up straight. So I came up with a fix for that. I cut all the pieces bigger than necessary, then we die cut them. We lined the letters up on top of the Poppy Parade 5-1/4 x 4 piece. Once they lined up and we were happy with them, then you just flip the stack of paper over and hand cut around the poppy parade piece. Voila! You have perfectly lined letters and the pieces the correct size to layer onto your card base.
It's a bit difficult to try to explain, so maybe I will do a brief video at some point showing how it works. Meanwhile, here are the cardstock sizes for you:
Thick Whisper White - 8-1/2 x 5-1/2 scored in half for the base
Poppy Parade - 5-1/4 x 4
Pineapple Punch - 5-1/4 x 4-1/4
Lemon Lime Twist - 4-1/2 x 4-1/4
Bermuda Bay - 3-5/8 x 4-1/4
Pacific Point - 2-7/8 x 4-1/4
Night Of Navy - 2-1/2 x 4-1/4
Whisper White - 2 x 7/8
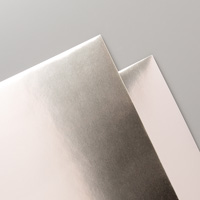
Champagne Foil - 1/2 x 4
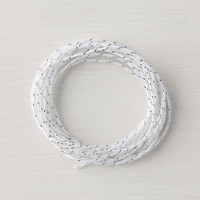
Silver Baker's Twine 1" (balloon string)
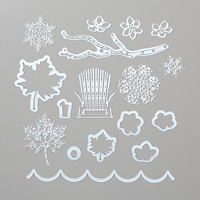
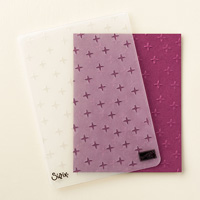
I used the Happy Birthday from Perennial Birthday but only inked up the Birthday part, and the texture on the right balloon is put on the champagne foil with the Sparkle Embossing Folder. A snowflake from Seasonal Layers dies is also cut out of champagne foil to put some texture on the left balloon.
I can't wait to make more cards using this alphabet. There is a matching stamp set as well, and although I didn't use it on this project, I did on a baby card I created. I will share that soon. The stamp set is called Lined Alphabet and here is what the bundle looks like ...

A list of supplies can be found under my signature. Just click on any of the images to go to my Online Store where you can see what is available, or place an order. Or you can EMAIL ME and I am happy to help you place and order, place the order for you, or answer any questions you might have.
Please use the Current Host Code located on the right side of my blog up near the top in a brightly coloured box. Right now this is the code ...

Thank you for spending time with me today. I hope your day is filled with many, many Blessings!
Have a Crafty Day!


No comments:
Post a Comment