
One of my favourite suites in the new Stampin' Up! Occasions Catalogue is the Magical Day suite. When I first saw this in the catalogue I knew it would be first on my "order right away" list.
When I receive a new catalogue I start 3 lists. As Demonstrators we get to pre-order a whole month in advance. And if we go to the Stampin' Up! OnStage Event, we get to order select products even earlier than that! I just LOVE new products!!!
Anyways, the first list is "Order Right Away", the second list is "Order Fast" and the third order is "Don't Wait Too Long". As you can see, the lists are rather urgent! LOL I am not a very patient person at all.
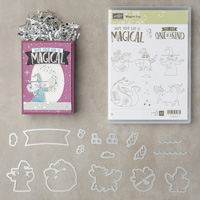
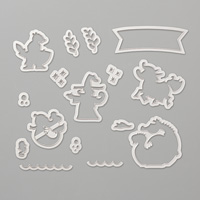
This suite, consisting of the Magical Day stamp set, Magical Mates Dies, Myths & Magic Specialty
Designer Series Paper, Specialty Washi Tape, and 6 x 6 Glimmer Paper. I did not use all of the suite on this card, but I have used everything at some point on projects along the way. You can see a complete list of supplies I used under my signature below.
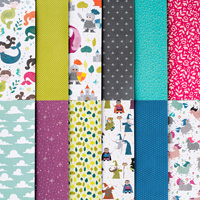
Here's the card I created using the Myths & Magic Specialty Designer Series Paper (DSP) ....

This beautiful DSP has glitter or glimmer on each of the 12 sheets. The only thing you need to worry about when using this paper, is which shall I use first!!!
Bermuda Bay 8-1/2 x 5-1/2
Whisper White 5-1/4 x 4 (x 2 I used one inside as well)
Window Sheet 3-1/2 x 3-1/2
Myths & Magic DSP (blue background piece) 3 x 3
plus one fussy cut Mermaid
First stamp the sentiment (I used one from Picture Perfect Birthday set).
Then using Layered Circles die #7, cut out the circle in the middle.
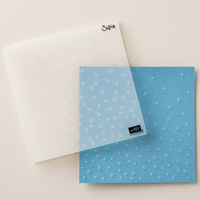
Use the Scattered Sequins Dynamic Embossing Folder to emboss the card front
Hand cut one of the Mermaids from the DSP
Attach her to the blue background piece using glue or adhesive (do not use dimensionals)
Attach the window sheet to the back of the embossed piece over the cut out circle
Put Foam Strips around the hole on top of the window sheet (at the back of the front piece)
Use an Embossing Buddy to get rid of the static on the window sheet
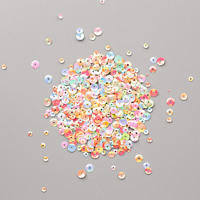
Put shaker stuff inside the circle hole
Remove the liners from the foam strips
Attach the blue background/mermaid piece to the foam strips making sure the mermaid shows through approximately in the middle
Use more foam strips to attach the card front to the card base
I enjoy making shaker cards, and I have noticed one very important thing. It does not matter how old you are, once you pick up a shaker card you just HAVE to shake it!
I hope you give shaker cards a try, they really are fun.
Have a Crafty Day!


No comments:
Post a Comment