
Welcome to my blog. I appreciate you taking time out of your busy day to see what I am up to In My Craft Room.
Last Wed morning at the Seniors group, we made this amazing card using the stamp set Wetlands by Stampin' Up! The good news is that this stamp set is not retiring. Yay!
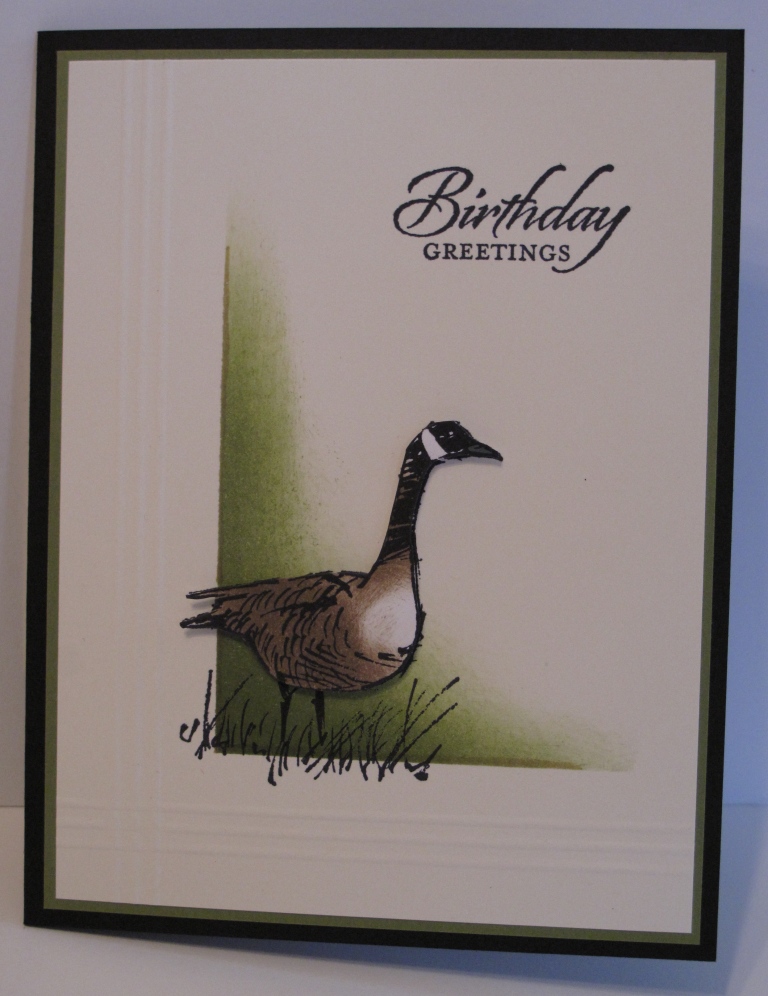
I cased this card I found on Pinterest, by Sabrina Radeck at Stamp & Create With Sabrina. I did not know until I clicked on her link that we live close together. I love her card.
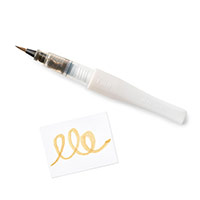
I added a couple of strips of Wink Of Stella Glitter Brush in Gold down the straight edge of the sponged Old Olive ink. You can see all of the supplies I used listed below.
Sometimes it is fun to make a real simple card that packs a WOW when you look at it. Here are the steps to complete this card ...
Create yourself a mask from copy paper that is 5-1/8 x 3-7/8
Cut an "L" out of it 1" over from two sides
Lay the mask on a piece of Very Vanilla cardstock 5-1/8 x 3-7/8 use post it notes to hold in place
Sponge Old Olive ink as shown above. Start at the edge of the mask and sponge outward
Stamp the goose image from the Wetlands stamp set in Archival Basic Black ink just a bit below and to the left of the sponged colour
Stamp the goose image again on a piece of Whisper White cardstock 2-3/4 x 2-3/4 using Archival Basic Black ink
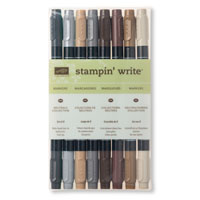
Use a Sponge Dauber to add Soft Suede ink to the body of the goose
Use a Basic Gray marker to colour the beak
Hand cut out this image (called fussy cutting but it's not too bad, just cut off the legs)
Using your Simply Scored score board score 3 lines on the left side and 3 on the bottom of the Very Vanilla piece - I used 3/8"; 1/2"; 5/8" Make sure you do this from the back of the cardstock so you have sticking out lines (debossed). If you prefer sticking in lines (embossed), then do it from the front.
Stamp your greeting also from Wetlands using Archival Basic Black ink pad
Attach the Very Vanilla piece to a piece of Old Olive cardstock 5-1/4 x 4
Then layer these two onto a Basic Black card base 8-1/2 x 4-1/4
When this is all done, run the Wink Of Stella Gold brush along the edges of the old olive sponged area
Then adhere the fussy cut goose on top of the one on the card front using dimensionals
Quick, easy and very effective. This would also make a wonderful sympathy or Father's Day card.
Have a Crafty Day! Glenda Mollet


This is really lovely. I love how your green background really makes the card stand out and then fussy cutting the goose really makes it pop with the little shadowing.
ReplyDeleteMatter of fact, I'm finally giving in to get this set now that it's not retiring. :) I think this card convinced me!
I really like this card. You did a lovely job making it.
ReplyDelete